Everything You’ll Ever Need to Know About How to Deadlift (plus a free mini-course)
If you know me. AT ALL. Then you know that I am obsessed with deadlifts.
If you don’t know me, then I’ll start with a quick introduction before diving into all the dirty details on how to deadlift.

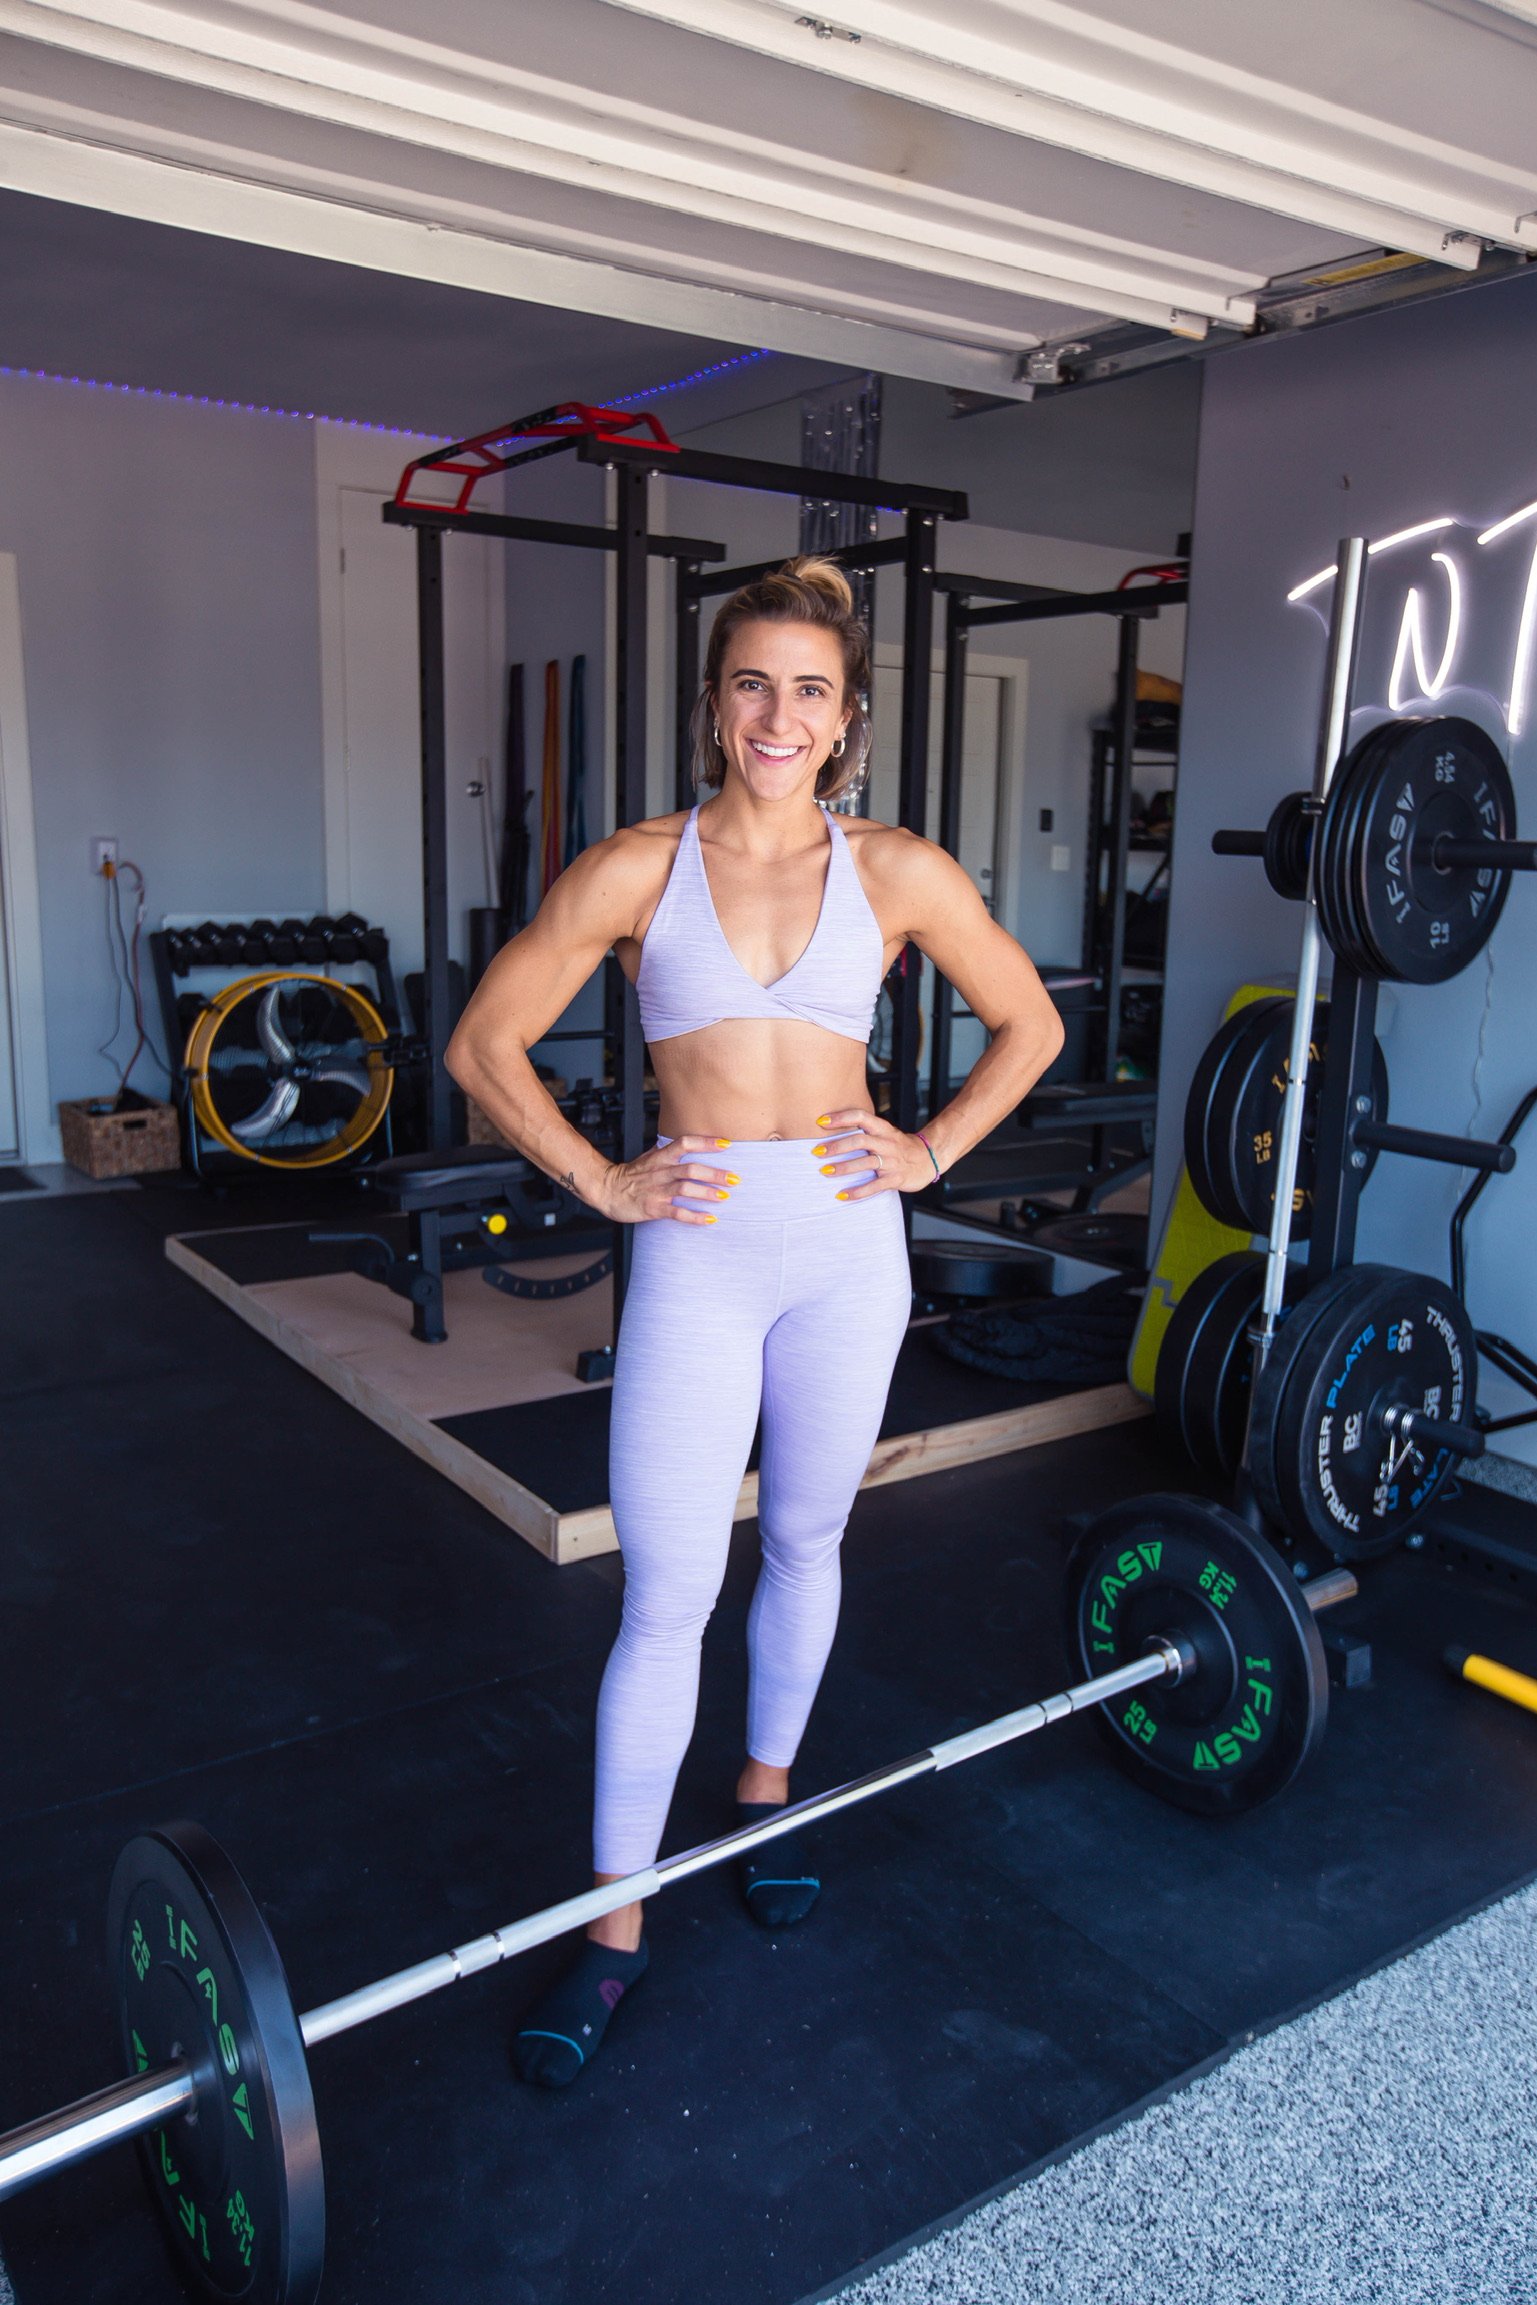
Hi. I’m Tara.
I’ve been a certified personal trainer and have been in the fitness industry since 2012. I am NASM certified and have certifications in kettlebells, mobility, 200-hour yoga teacher trainer, and I am an olympic weightlifting coach.
Over the past decade, I have worked with thousands of people on the gym floor in group classes, yoga, and personal training sessions. In 2018, I started my transition to coaching solely online. I started Broads, my web app full of new workouts weekly.
About a year later, I took a deep-dive into barbell training once I saw what it did for myself and my body. I finally understood, after a life-long journey of trying to make myself smaller, to actually take up space. To be the woman I always wanted to be and help others do the same.
My whole goal with exercising is - and will always be - to give you exercise guidelines you will always remember, with or without me as your coach.
In the past few years of starting to lift, I was no longer scared of deadlifts. I put up a 315lb squat, and bench pressed 180lb. I’m actually working out less and feel so much stronger and more confident in the gym because of barbell training. But I know how scary it is to get started. And from someone that has had a back injury, shoulder impingements, and constantly tight hips, I can attest to the fact that you can do it.
My Love for Barbells runs deep.
Here’s some of the reasons why I love me a barbell exercise:
You get much more out of the barbell than the same amount of effort with other equipment
You don’t have to do as many exercises with a barbell to get the same effect
Barbells feel like less work
So, in this blog, I’m going to break down the deadlift (one of the most amazing barbell exercises). Plus, you get access to one of my very favorite (and very FREE) mini-courses.
Let’s Break Down the Conventional Deadlift.
While the mini-course will work through the Romanian, trap bar, and sumo deadlifts, this guide will extensively cover the conventional deadlift.
The deadlift is oftentimes known as the king exercise of the gym. It is also a great indicator of absolute raw strength. While there are other great ways to test strength and power, the deadlift is considered a solid test of true strength, and so in the process of building a big deadlift, you’ll gain a lot of strength along the way.
Of all the exercises that exist, few engage as many muscles and reinforce proper movement like the deadlift. You cannot, however, simply bend over and pick up a barbell. Without knowledge of proper deadlift form and grip positioning, you’ll risk injury and stagnation.
That’s not to say that you need maximal deadlift strength to pick up your latest Amazon package, but the core mechanics are the same. A deadlift mimics proper hip-hinging, driving your hips back and lowering your torso toward the floor with a tight back. That is a skill you want to maintain as it can potentially lead to back injuries without proper technique.
Deadlifting somewhat regularly (even with light weight) will help reinforce proper hinging patterns to help you stay supple and mobile.
What you can expect to learn:
What muscles are used
What are the benefits
Breakdown
Grip and variations
Who should be doing them
What you might need to deadlift:
Muscles Worked.
The deadlift is close to a squat with the most amount of muscles worked in one single exercise. The deadlift is a posterior exercise, meaning its big muscle groups are glutes, hamstrings, and lats. The synergistic and stabilizer muscles are the groups of muscles that assist with the successful execution of the movement. They promote joint stability, prime mover strength, and have the ability to increase activation throughout various ranges of motion but may not be active the whole time as the prime movers. For the deadlift, those are the calf muscles, obliques, core, erectors, quads, traps, rhomboids, and forearms.
The Warm-up.
If you know me, then you also know that I love a good warm-up. When it comes to preparing and warming up for deadlifts, the most effective way is to spend a little time on each joint working through ranges of motion needed to complete proper deadlifts.
Once you’ve gone through unloaded mobility drills, then it’s time to start lightly loading the body with movement patterns that will be used during the deadlift (hip hinge, hip extension, etc.).


Follow along warm-up (:30 of each exercise x2)
Standing figure four to knee pull
Forward fold to squat with overhead reach
Deadbug
Glute bridge
Lying shin box switch
Leg swings
Hip external opener to reverse lunge twist
Goblet squats
It’s also important to build up to your deadlift weight. You wouldn’t go from warm-up straight into your heaviest weight. Make sure you do 4-8 reps for 3-4 rounds before you start your set. Full follow along in the free mini course here.
The Grip.
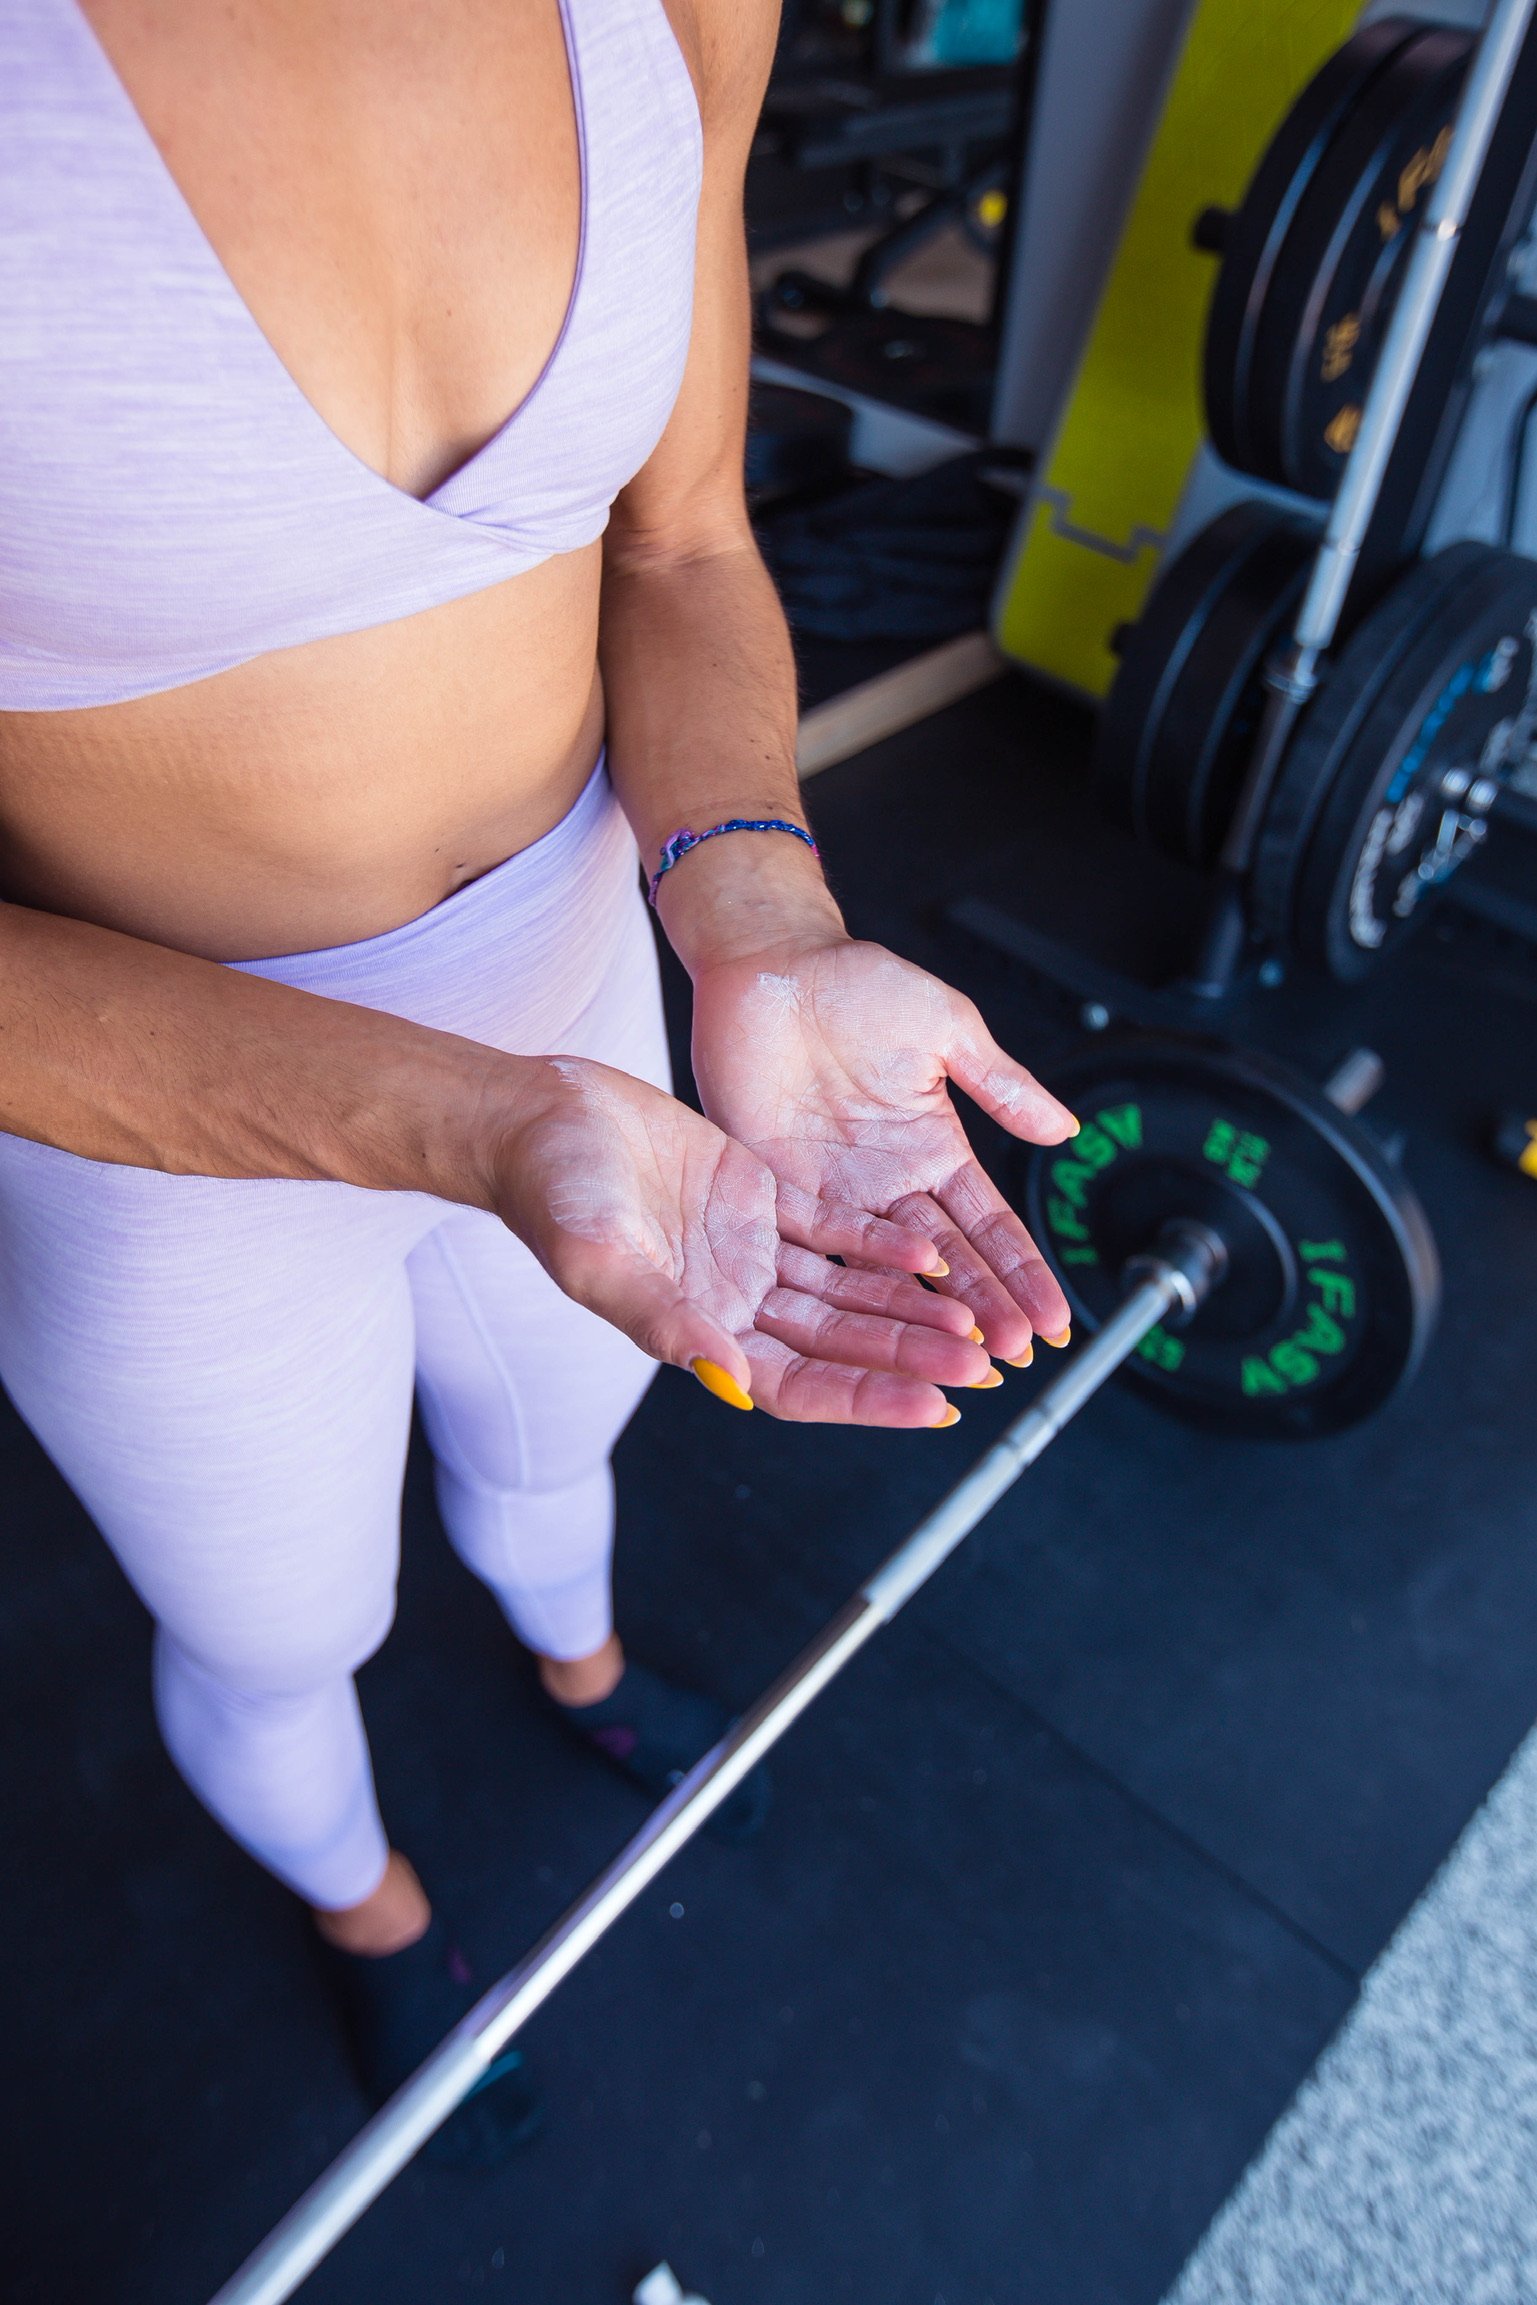
Did you know that there’s 35 muscles from your elbow down?!
If you take one thing from this blog post, I hope it’s that you are only as strong as your grip. Grip strength is often one of the most forgotten, but in my opinion, the most important pieces of strength training in order to:
Feel confident and comfortable under a bar
Progressive overload without using a crutch (as in wrist straps)
Finally land your first pull-up?
Carry groceries, suitcases, weird things in your hands
Research has also shown a positive correlation between grip strength and overall health.
Here are some exercises that can improve your grip strength if you do them a few times a week:
Stress Balls - You can do this for as long as you can a couple times throughout the day
Farmers Carries - The goal is to do this for as long as you can, drop them, shake it out and do it again
Dead Hangs - Again, the goal is as long as you can, shake it out and do it again
You are going to feel like you need to stretch after you do some grip work, so here’s some that will really help with that:
Fingers back, palms on the desk - Stretch by leaning back and forth on your bodyweight and gently side to side. Go for 15 seconds.
Fingers back, palms off the desk - Lifting your palms up places the emphasis on your fingers more. Go for 15 seconds.
Clenched fists - While seated, place your hands on your things with palms up. Close your fists and, with your forearms touching your legs, raise your fists off of your body bending at the wrist. Hold for 10 seconds.
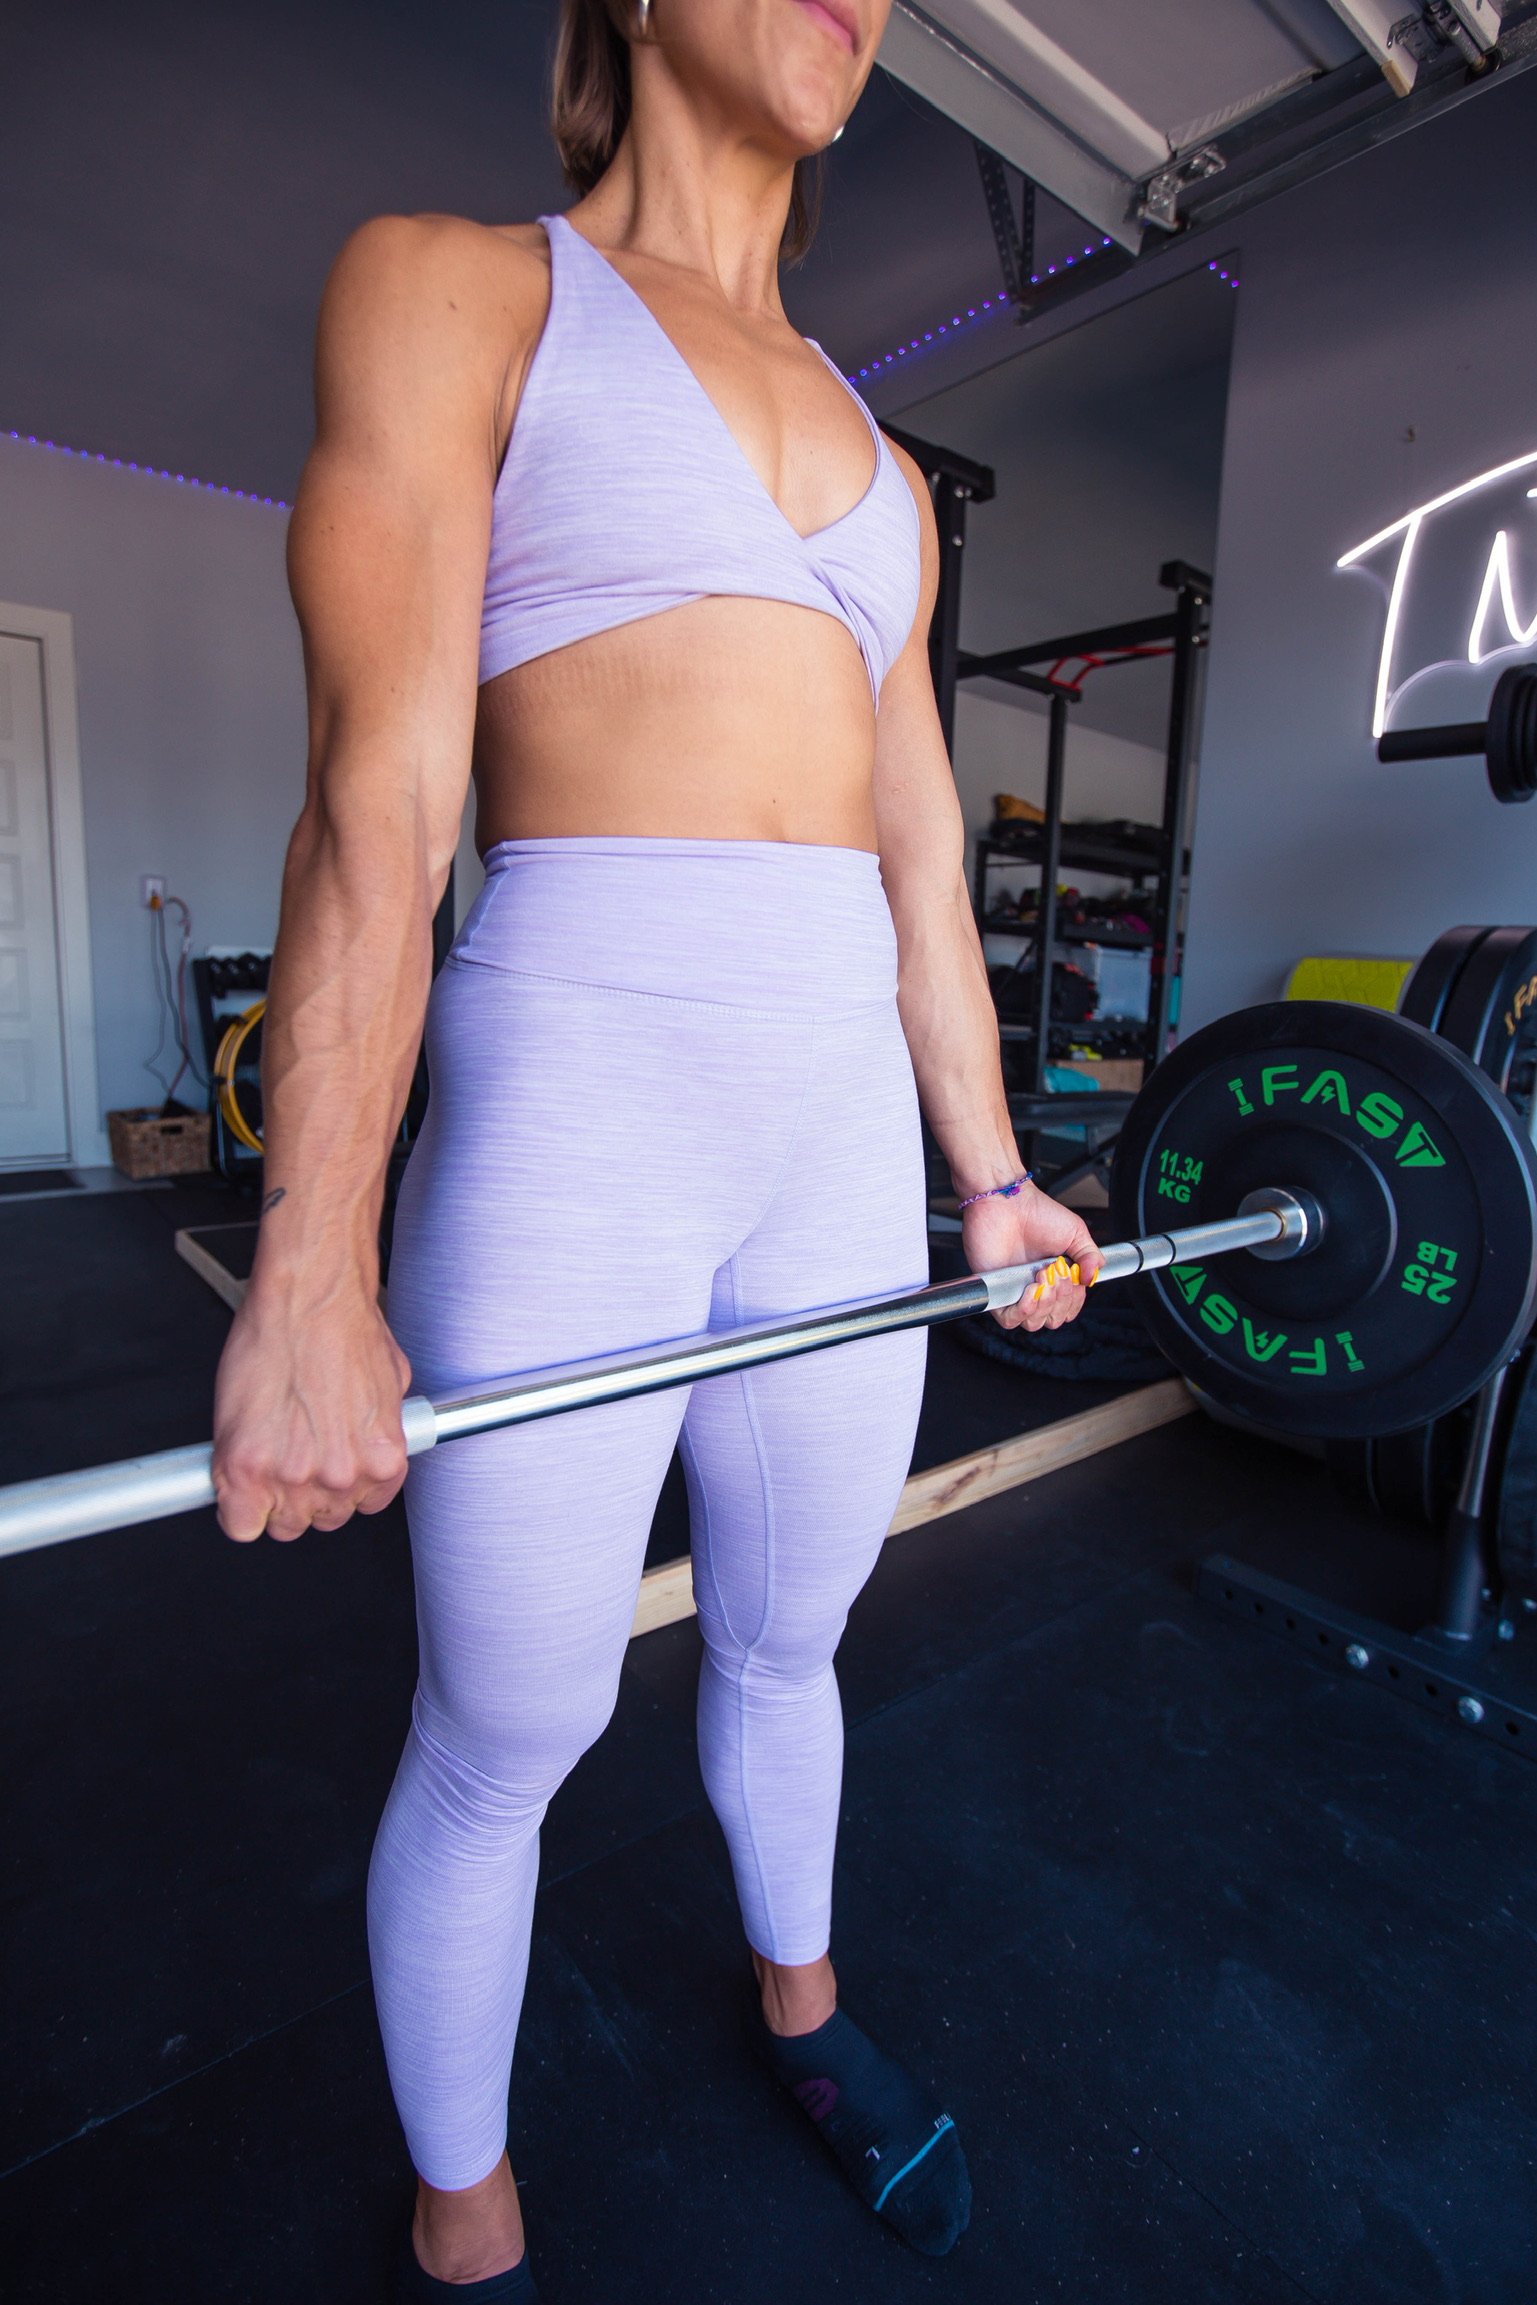
Double Overhand Grip
This is the most beginner-friendly and most widely-used grip in strength training. This is a great grip to help develop grip strength. Place your hands palm down on the bar, wrapping your fingers and thumb around it. Some lifters (even myself!) do experience issues holding onto loads using this grip, but that is why it is super important to practice your grip strengthening exercises.
Mixed Grip (Over-Under Grip)
The mixed grip, also known as the over-under grip, is a secure grip that prevents the bar from rolling out of the hands as you pull. It has you hold one side of the bar with your palm facing you and the other facing away. This grip can promote some rotation stress on the body and may lead to asymmetrical back development long term. I wouldn’t suggest this to anyone just getting started and would only really suggest it if you are planning on lifting a lot or competing.

The Cues.
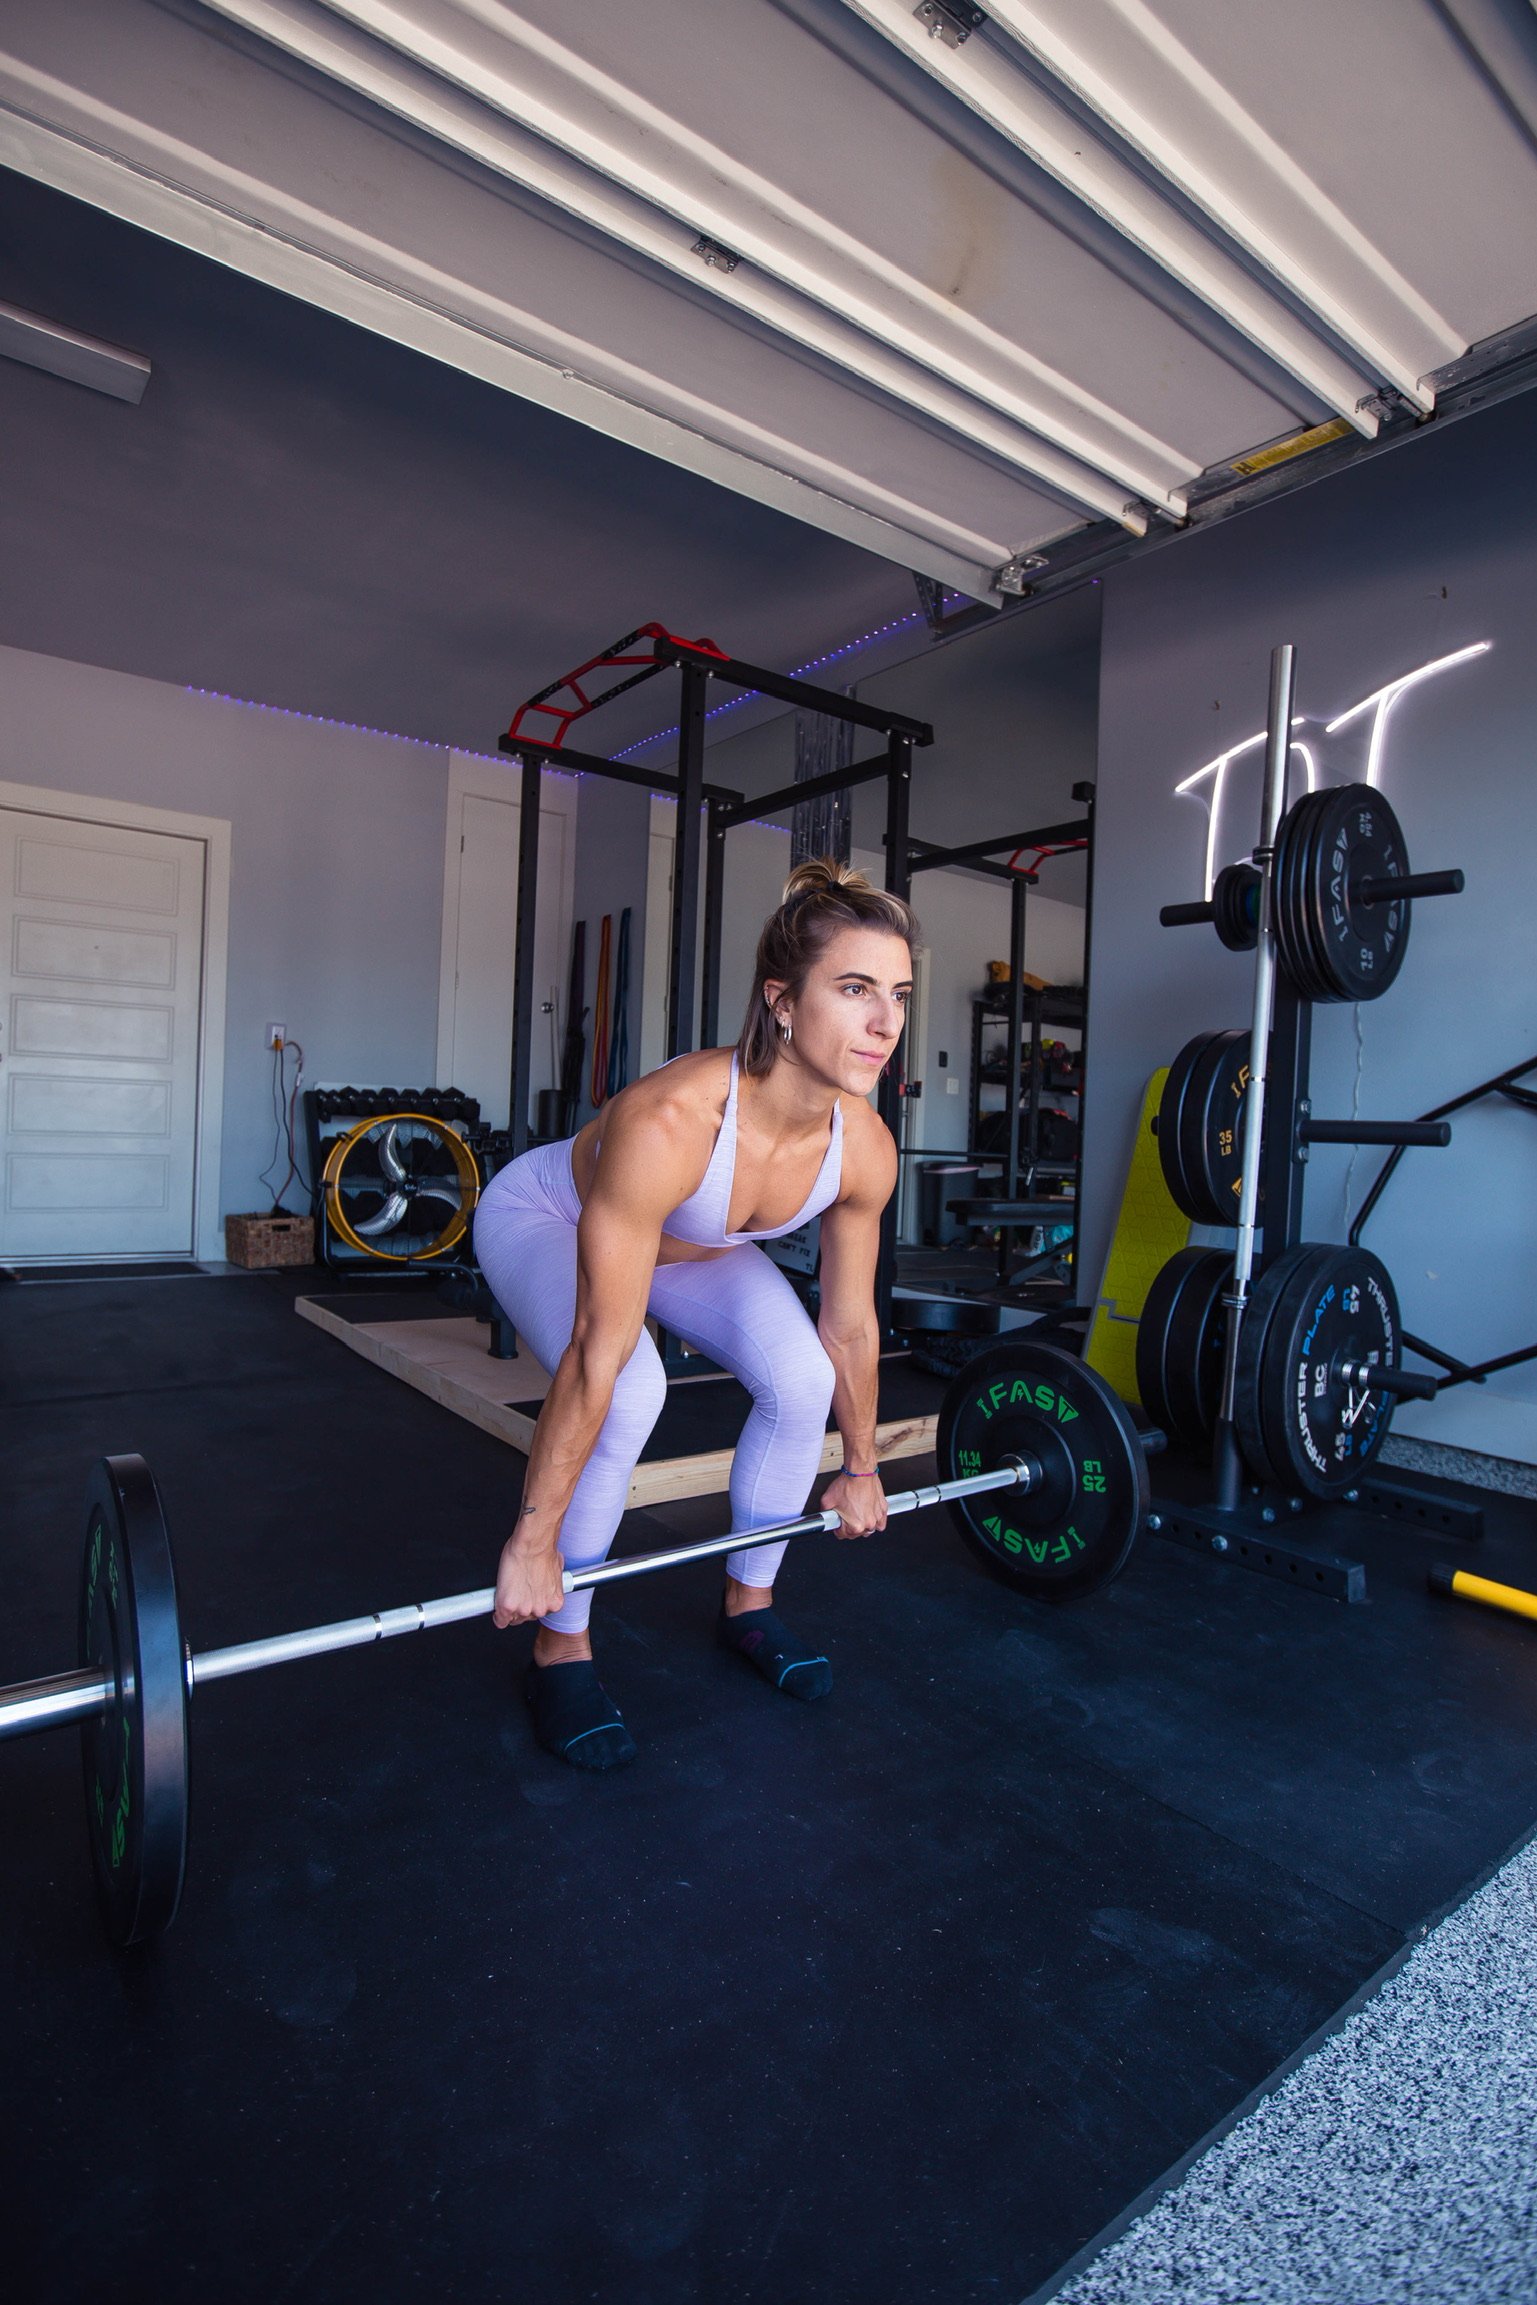
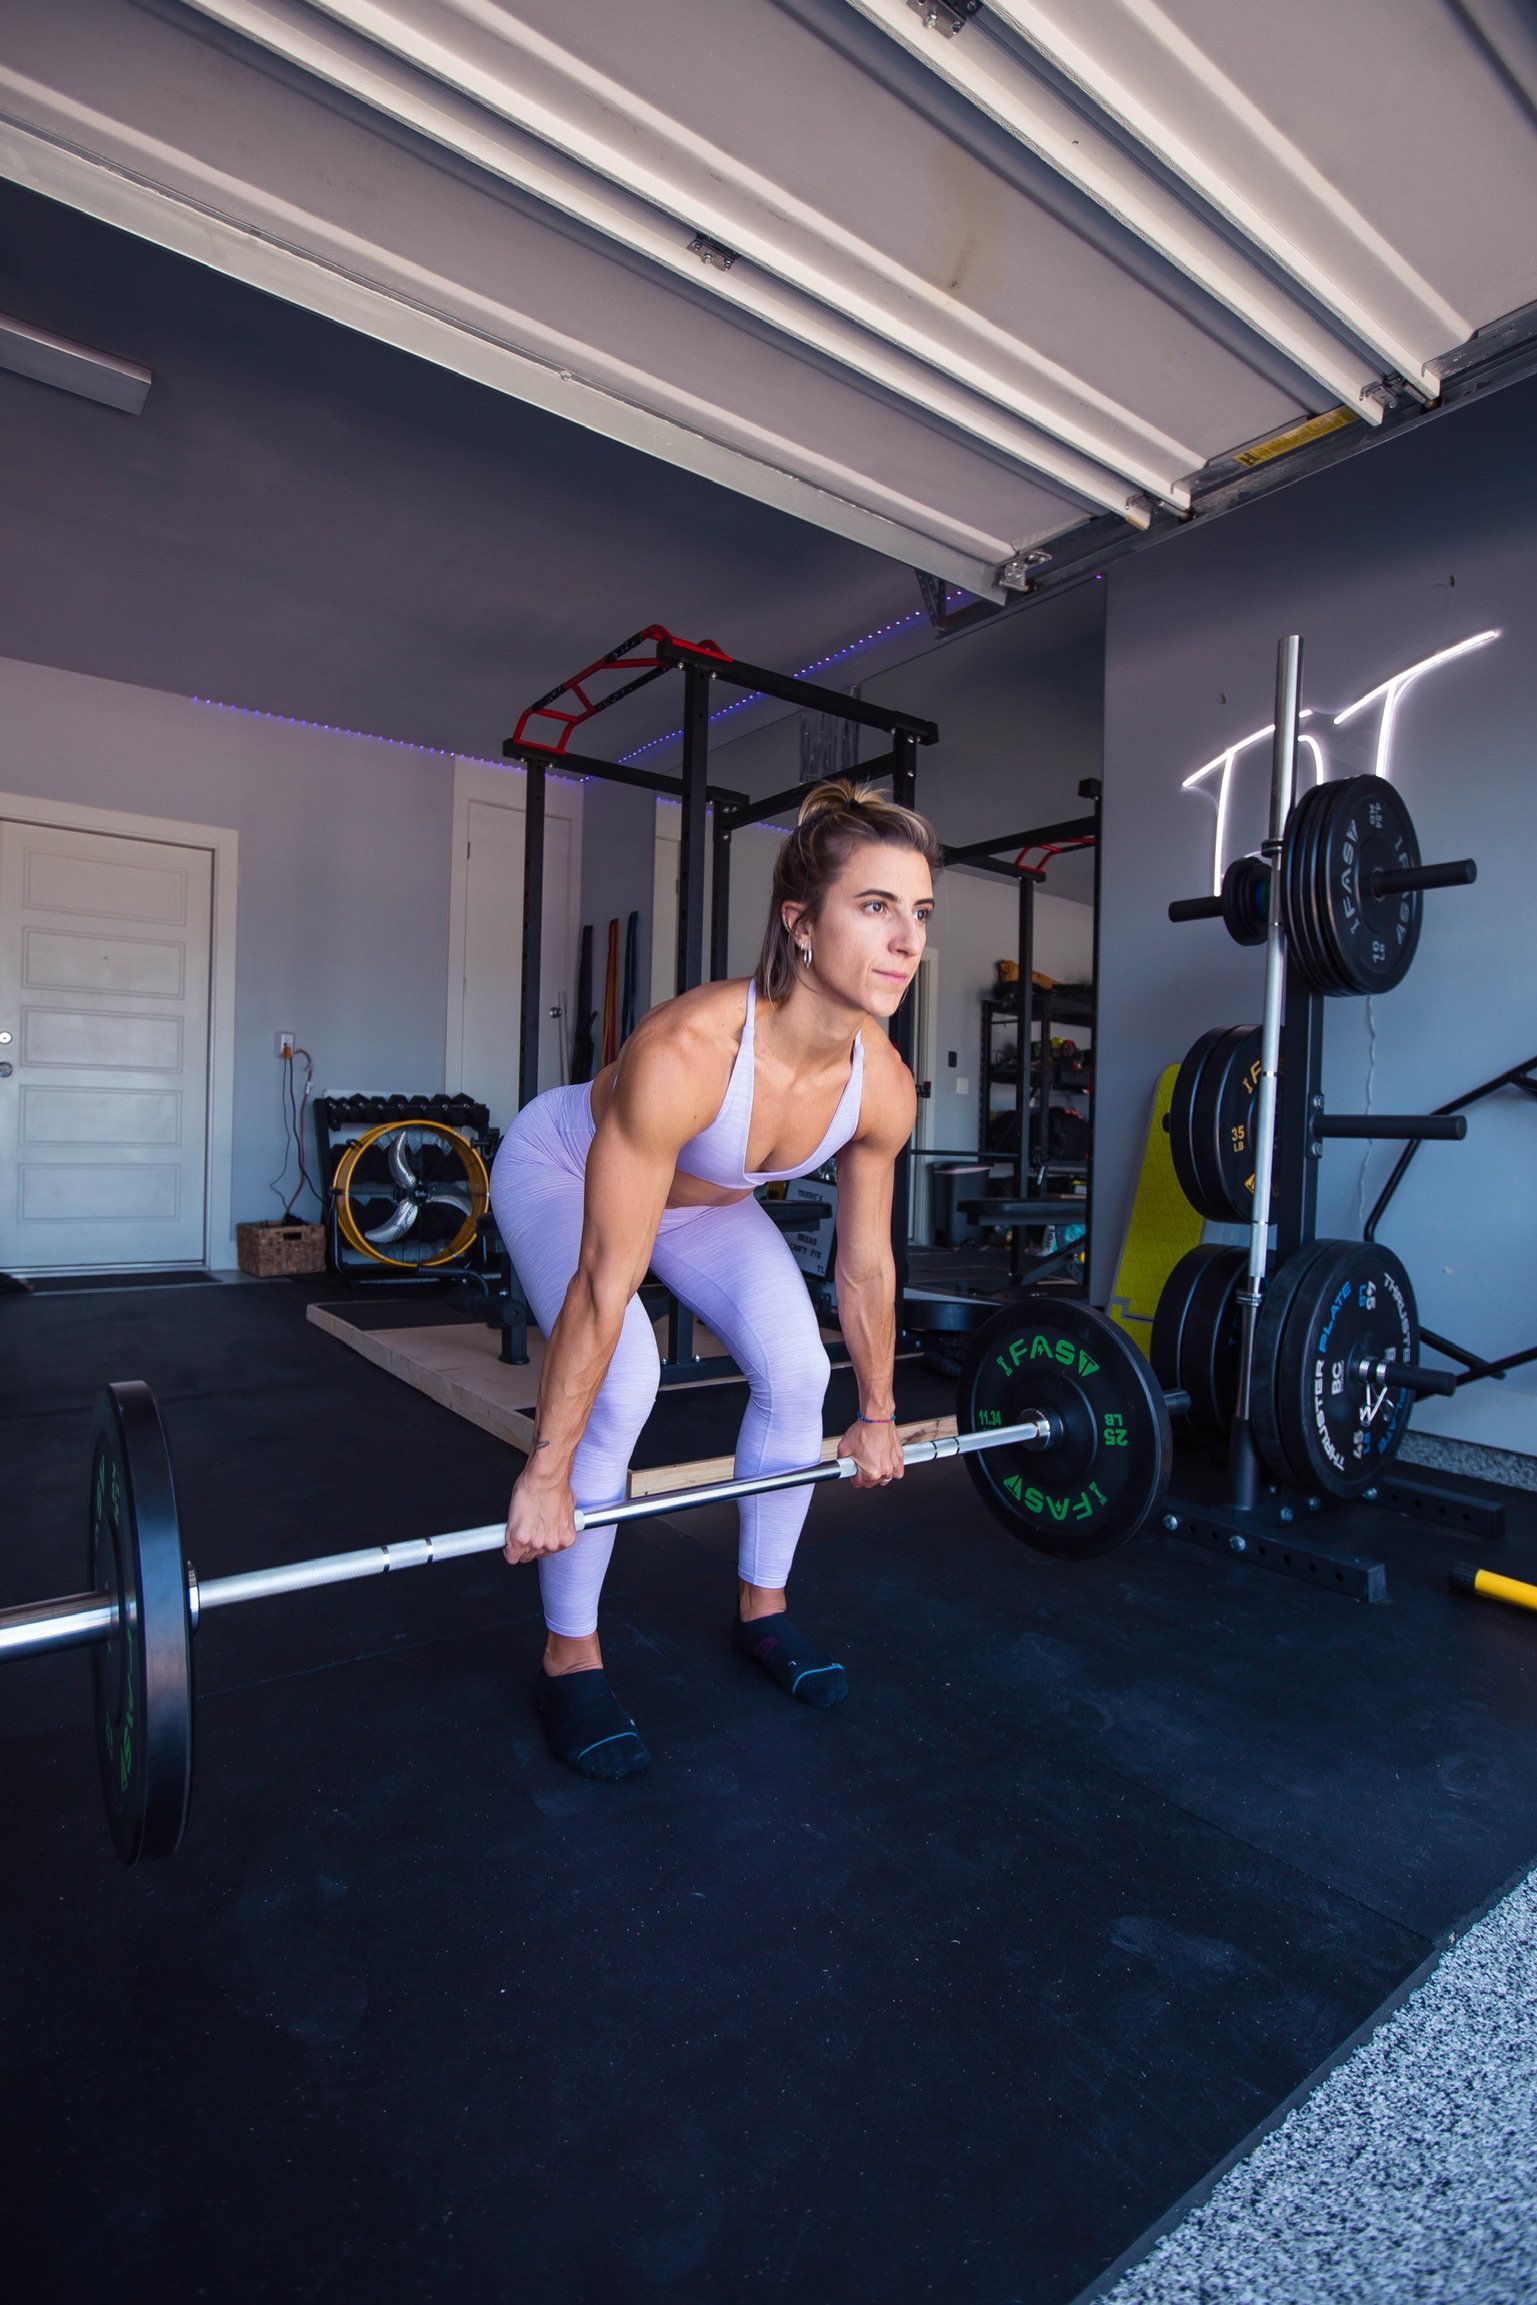
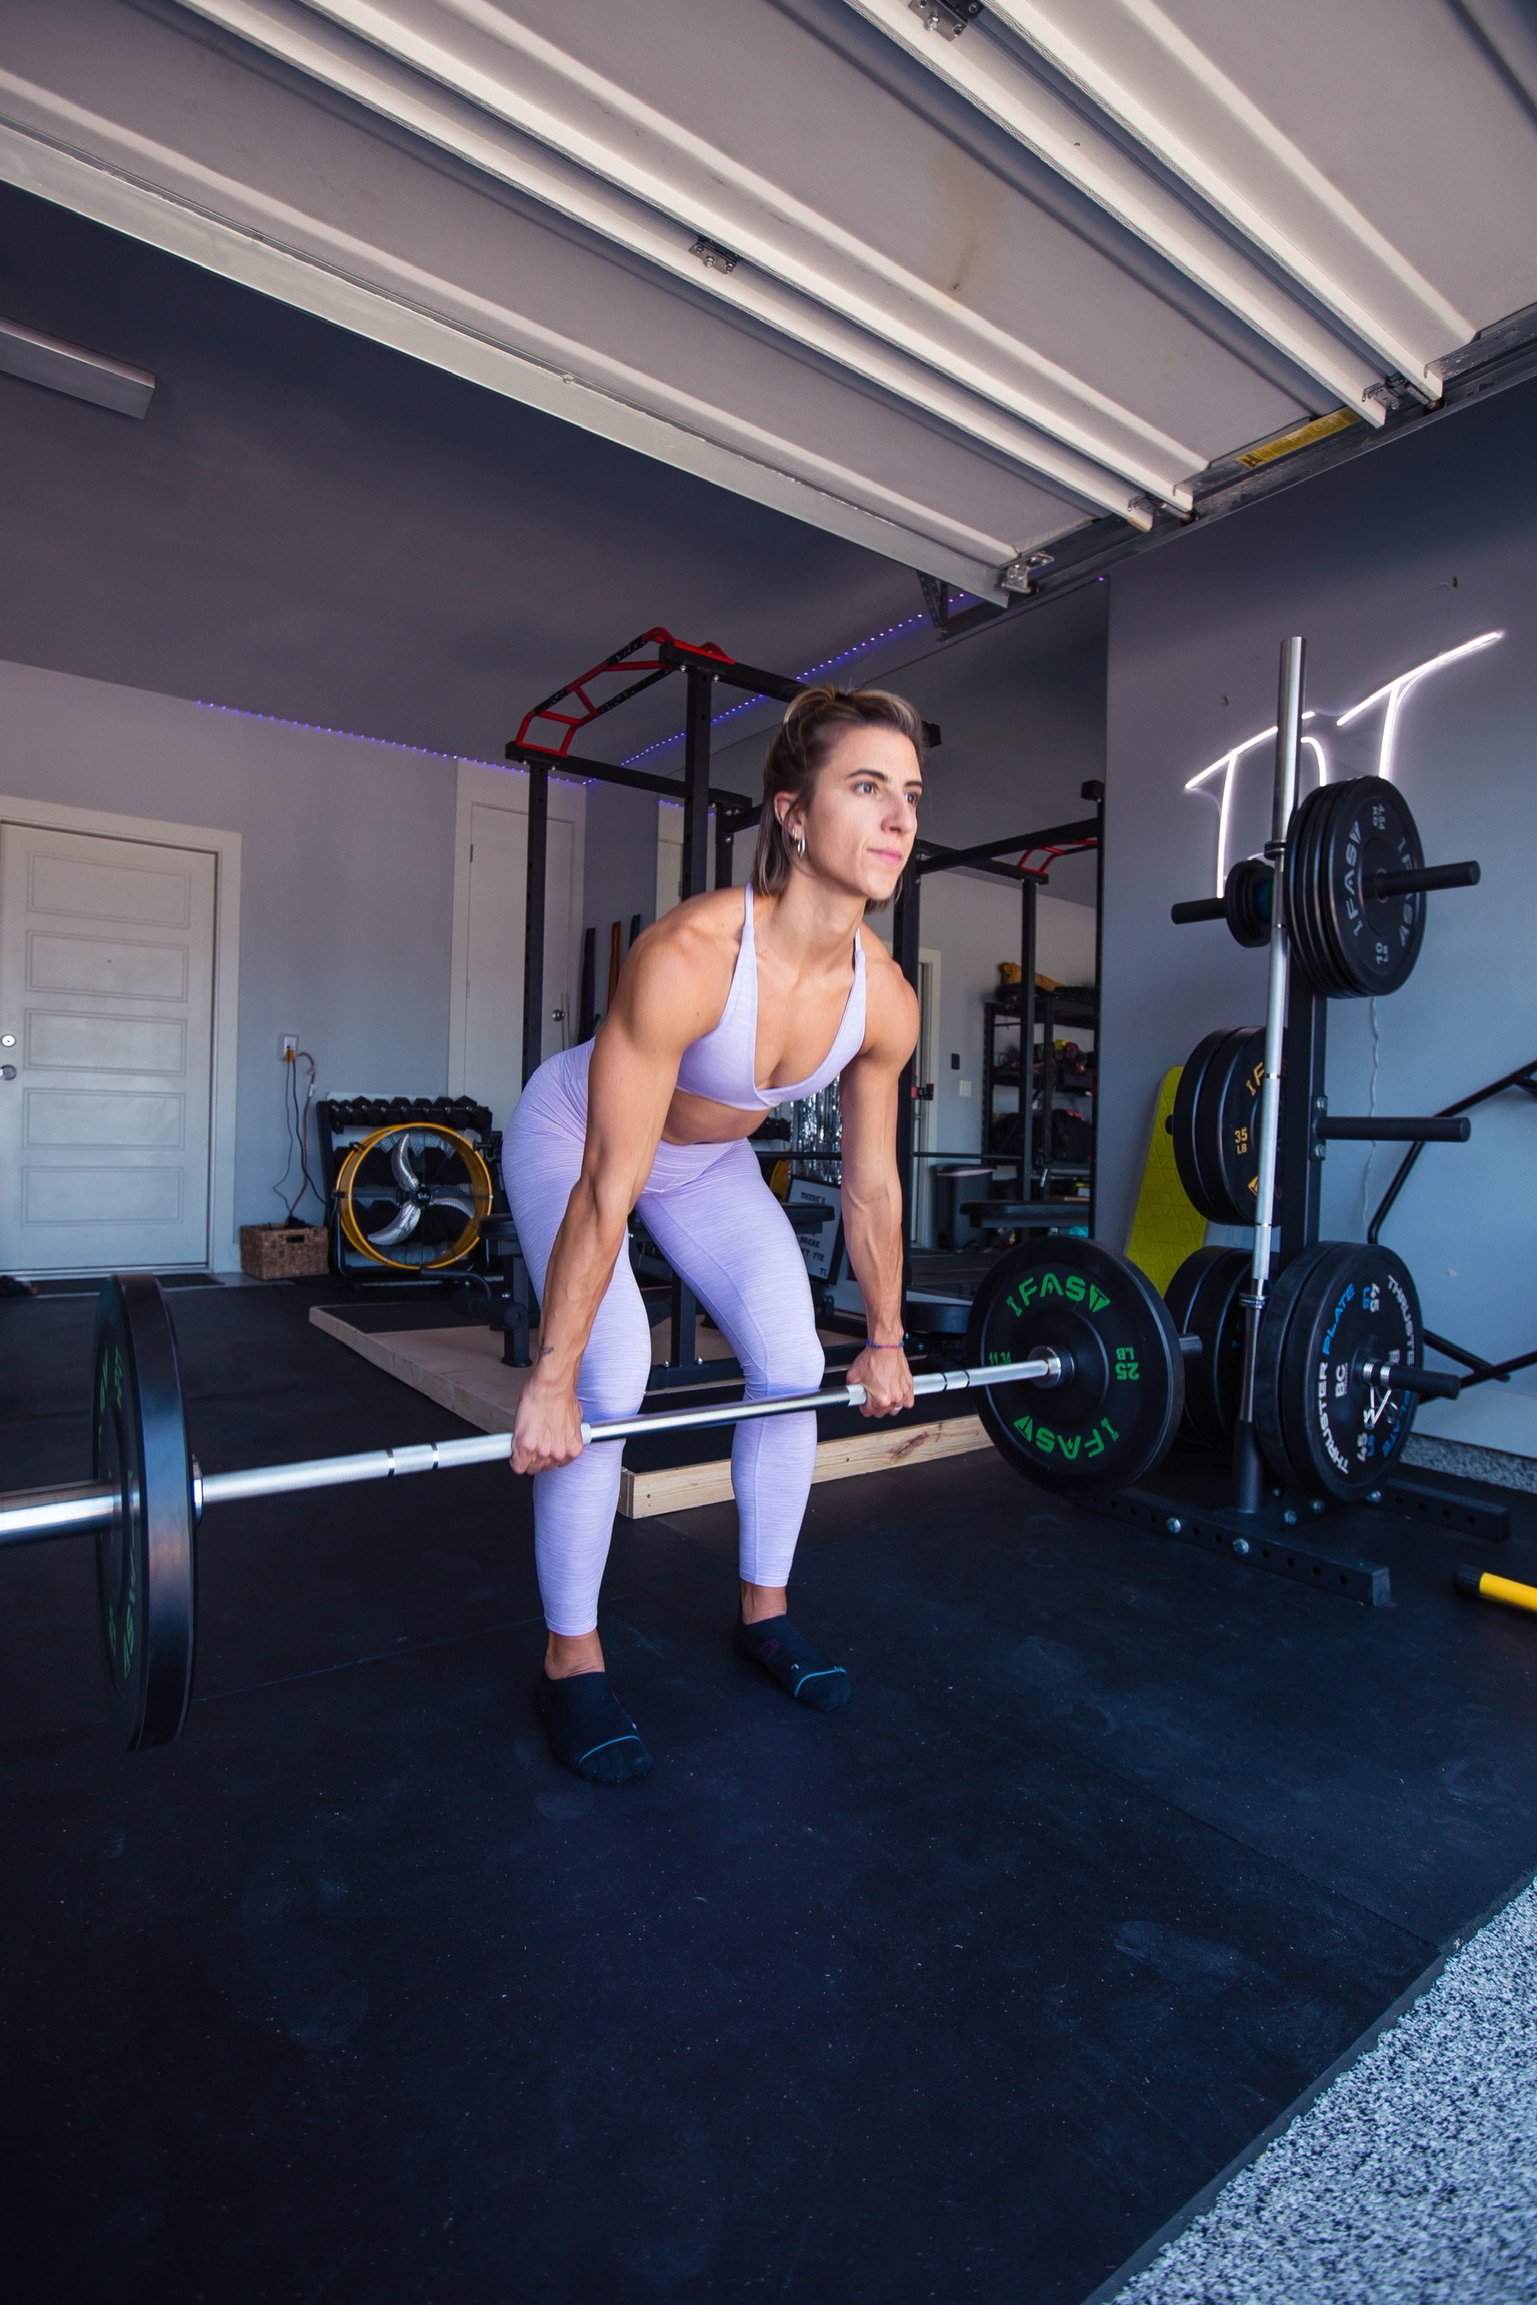
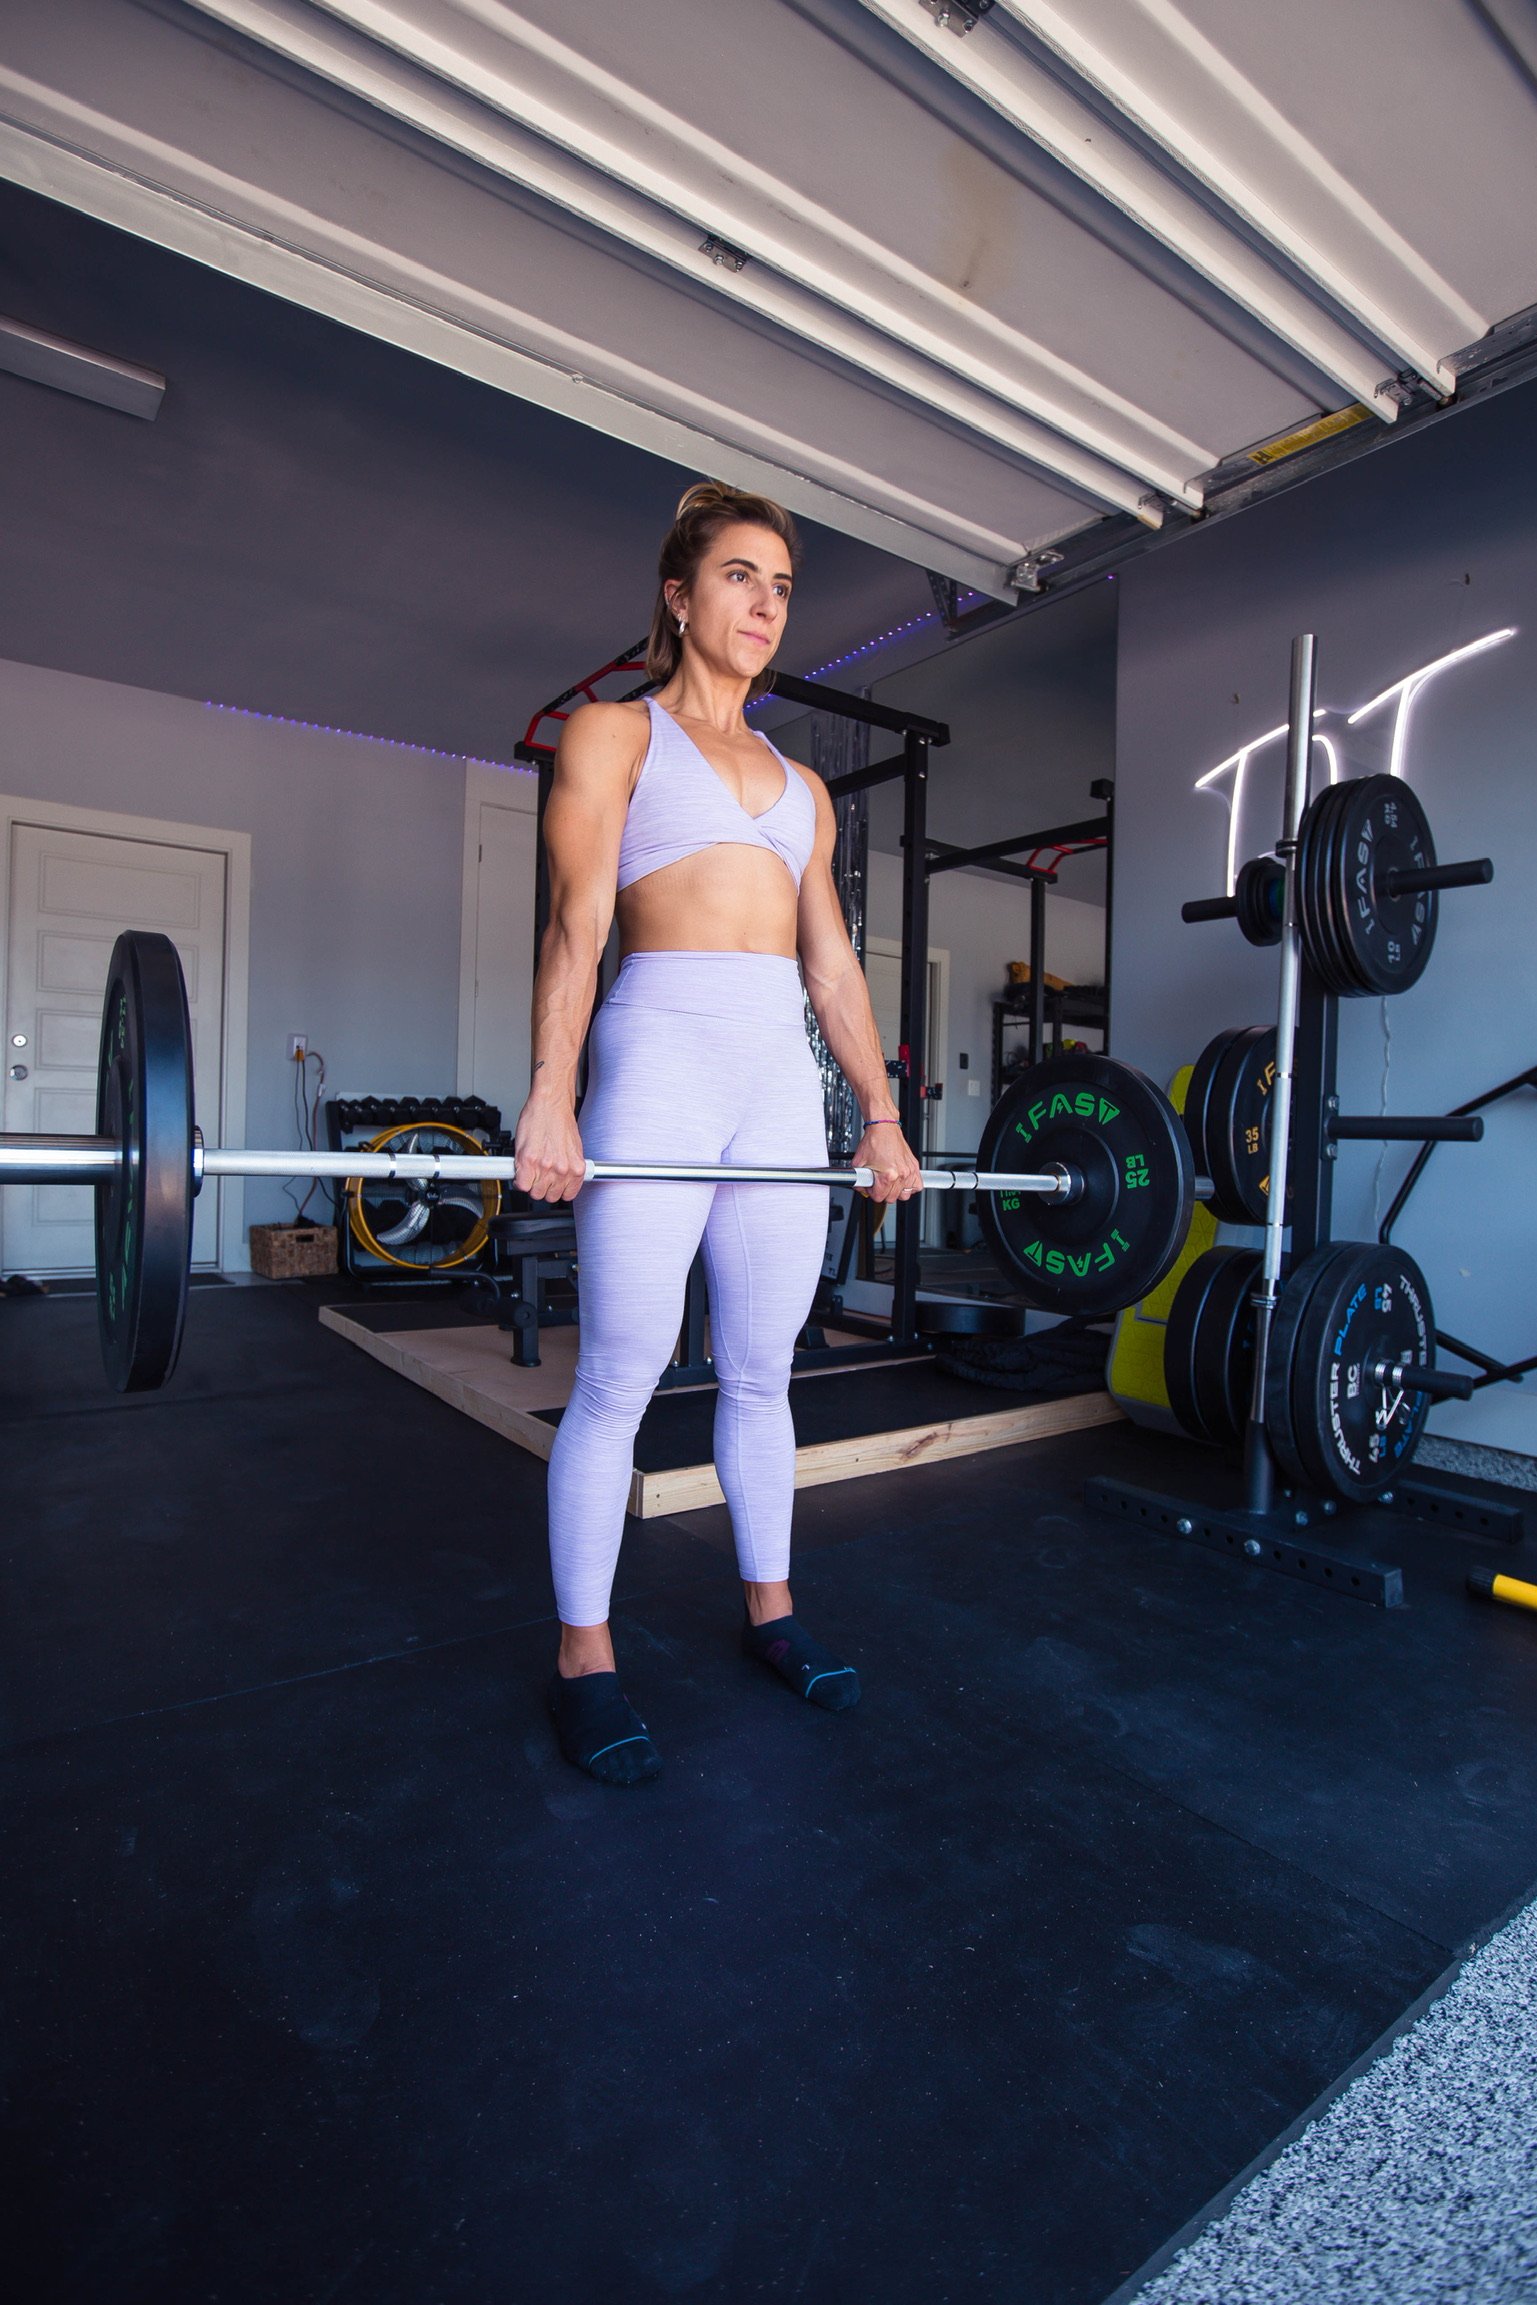
Step 1: Set up your bar. Make sure you are using standard sized bumper plates so it is set up for the right starting height. The standard size barbell is 20kg or 45lb.
Step 2: Walk up to the bar so that it’s directly over the middle of your foot. Place your feet about hip-width distance apart and toes slightly out.
Step 3: Bend over and grab the barbell. You are going to grab it just on the outside of your shins but keep the distance of the bar at the midline of your foot (about 1 inch from your shins).
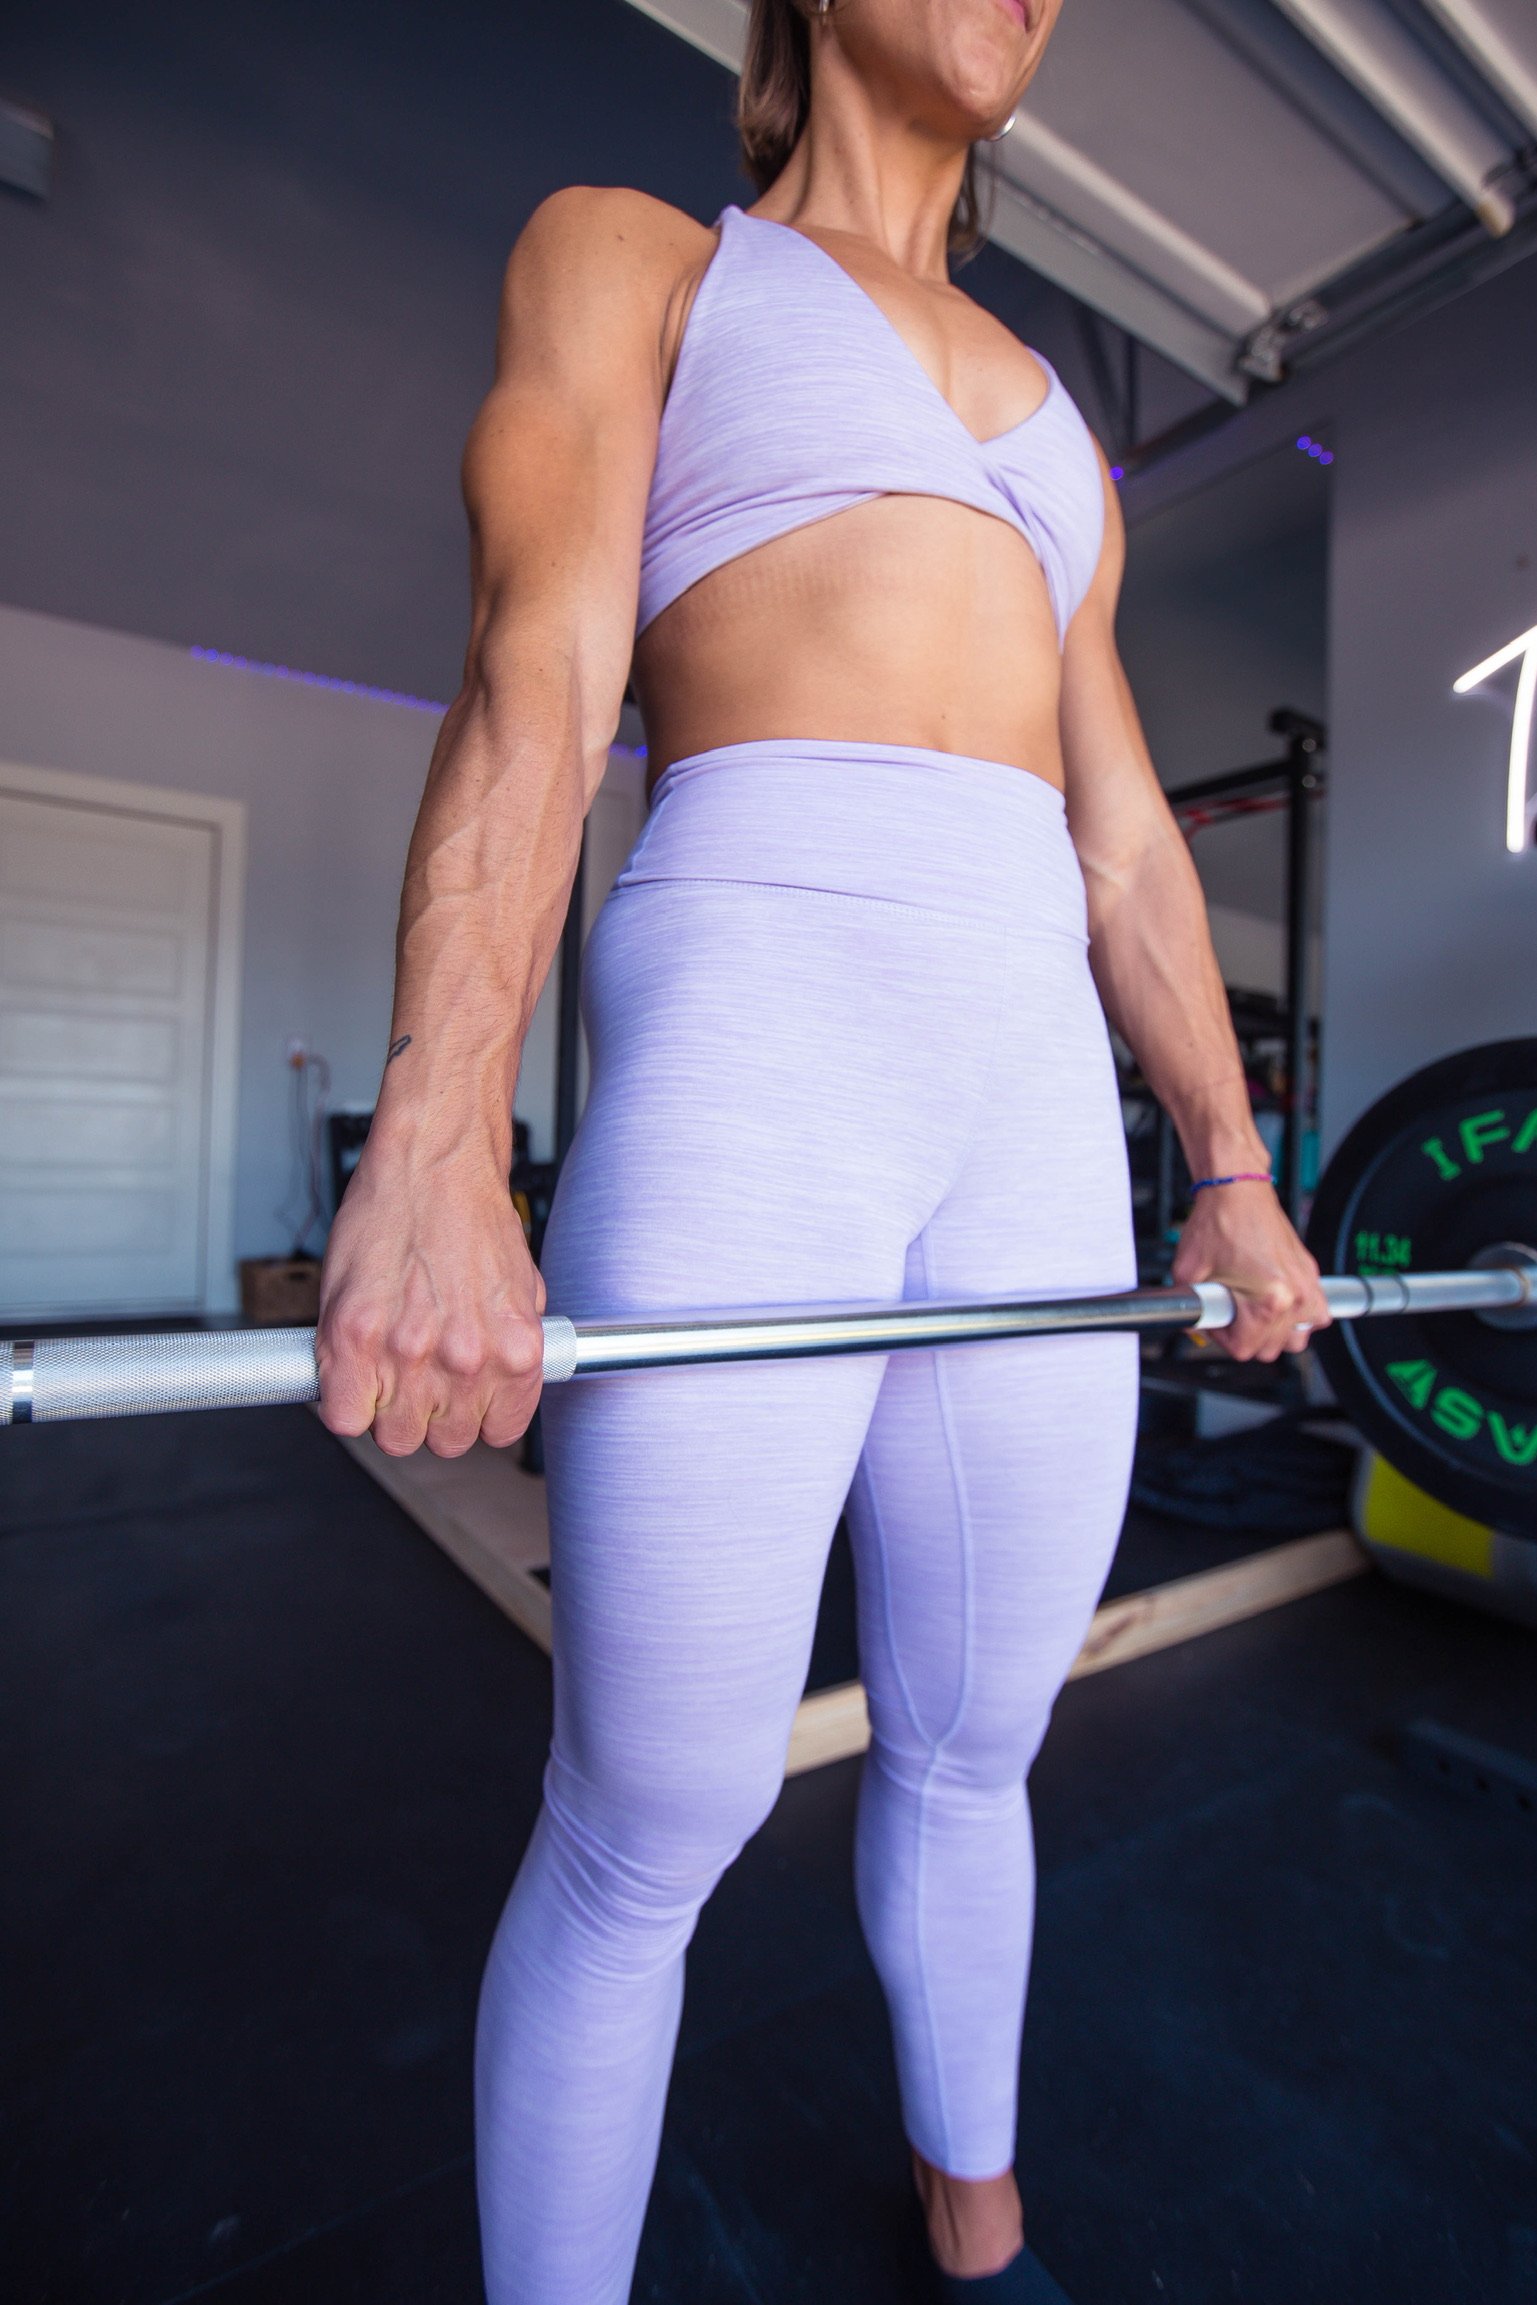
Step 4: Once your hands are on the bar, drive your knees forward until your shins actually touch the barbell, putting your hips into the right position
Step 5: Then you are going to flatten your back by thinking about sticking your butt out and belly down. I like to imagine you having a flashlight in your butt and you’re trying to shine the light directly behind you.
Step 6: Next, keep your gaze on something about 10-12 feet in front of you the whole time.
Step 7: Push your knees out into your forearms
Step 8: Take a big inhale, brace your core, and drive the barbell directly up your legs in one fluid movement until you are standing straight up tall with your shoulders stacked over hips and stacked over heels. Exhale.
Step 9: Put the bar back down exactly the way you picked it up, down your legs and to the floor
What happens if you fail a rep?
The good thing about all deadlift fails is that you just don’t pick it up, and that is okay! It just means you need to lower your weight and perfect your technique before you are ready to go up in weight.


Common Faults on Deadlifts.
The bar path refers to the barbell’s path from start to finish. A common mistake is the poor bar path. Ideally, you want the bar to remain in as straight of a line as possible, starting at the middle of your foot straight up your legs as you are finished. A straighter bar path means the bar has to travel less distance and is, therefore, easier to pick up. Second, a barbell that juts outward can throw your body out of alignment, which may lead to an injury. To fix poor bar path, set a foam roller six to eight inches in front of the barbell and practice reps without touching or knocking down the roller. Make sure you film yourself from the side and analyze where the barbell might be shooting forward.
Another common mistake is to not tighten your back and lats. By pulling the slack out of the bar, it means to create tension with the body, barbell, and floor before any movement is initiated. When you pull the slack out of the bar, you will immediately feel your lats engaged. This will ensure that you are bracing correctly and setting yourself up for success by producing tension within the back. Otherwise, you’ll pull the barbell with loose form and either not move the weight or potentially hurt yourself. I will show you exactly how to do this when we get into our breakdowns.
Another common fault is that you shoot your hips up too quickly. If the hips shoot up once you start the movement, then there’s a good chance you’re losing power due to poor positioning of your lower body. Try taking a video of yourself from the side as we go through each variation and practice bringing the hips up slightly each set to highlight different positions and which feels most comfortable. Assuming the rest of your form is okay, then one position will generally feel best, and that’s where you’ll typically end up progressing.
One other common deadlift mistake is bad foot position. A lot of people position themselves too far back, which leads to an overload of the lower back when you try to lift the bar off the ground, causing pain in the lower back. Therefore, the feet should be positioned so that half of the foot - the front part - is under the bar. As for the width: You should place your feet at hip-width.
Bracing Your Core for the Lift
To keep your spine in this neutral position and add weights to your lifts, we need to understand breathing to stabilize the trunk. You are going to hear me say “brace your core” a LOT during these movements. So it is extremely important that you know what I mean when I say that.
It’s a little more than just sucking in, or bringing your belly button towards your spine, you are actually bracing your entire core, meaning:
Rectus abdominis - The most well-known ab muscle, the rectus abdominis is the muscle responsible for the coveted six-pack. It’s a long, flat muscle that extends from your pubic bone to your sixth and seventh ribs. Your rectus abdominis is primarily responsible for bending your spine.
External obliques - These are the muscles on either side of your rectus abdominis. Your external obliques allow you to twist your torso, bend sideways, flex your spine, and compress your abdomen.
Internal obliques - Your internal obliques lie just below your external obliques. They have the same functions. Transverse abdominis: This is the deepest layer of muscle in your abdomen. It completely wraps around your torso and extends from your ribs to your pelvis. Unlike the other ab muscles, your transverse abdominis isn’t responsible for moving your spine or hips, but it does stabilize your spine, compress your organs, and support your abdominal wall.
Latissimus dorsi - Commonly called your “lats,” these muscles run along both sides of your spine from just below your shoulder blades to your pelvis. Your lats help you stabilize your back, especially when extending your shoulders. They also contribute to your ability to twist side to side.
Erector spinae - You have erector spinae muscles on each side of your spine, and they extend the entire length of your back. These muscles are responsible for extending and rotating your back, as well as side-to-side movement. These are considered postural muscles and, to some degree, are always at work.
So as you can see, there’s a ton of muscles involved in engaging your core, so it’s not as easy as it sounds. BUT once you learn how to do it properly, you will find yourself super excited at how much stronger you can get at your lifts, like deadlifts, squats, rows, etc.


Standardize Your Technique.
The only way to know if you have gained strength or seen an improvement is to do it the same way each time. True strength requires proper strength, depth, tempo and execution. In other words, those “bro push-ups” you see around the gym – yeah, they don’t count.
Many people lie to themselves that they got stronger but their form goes out the window or their ROM is poor. There’s no point in lying to yourself about it, so standardize your form and then repeat forever.
This is just a glimpse into the larger body of content that is offered through my FREE Deadlift Mini-Course (here).